Land Among the Stars Night Light featuring Chibitronics®, etchall® & Makin's Clay®

Today the Designer Craft Connection group is having a Chibitronics® blog hop! What fun it was to experiment with this kit and learn about the many ways you can add LIGHT to your projects!
A variety of creative products including etchall®, Chibitronics, and Makin’s Clay® come together in this “twinkling” light which would make a great little light for child’s room. I was right in my favorite creative zone with this project - I felt like a mad crafting scientist!
This is a LONG post as there are a LOT of techniques on this project - but hopefully you’ll find even just one idea you’d like to try for a future project yourself!
Materials:
Glass star bottle with cork stopper
Chibitronics® Chibi Lights LED Circuit Stickers STEM Starter Kit
etchall® Lighten Up Kit, etchall® Creme
Makin's Clay® - Glow in the Dark, 3 piece Star Clay Cutter set, 3 piece Circle Clay Cutter Set, Clay Tool Kit, Non-Stick Cutting Mat
DecoArt® Glass Paint Markers - Silver & Gold
Beacon® 3-in-1 Adhesive
Loew-Cornell™ Simply Art™ paint brushes
Smoothfoam™ 1 1/2" balls - 2
The Angel Company™ “Reach for the moon. Even if you miss it, you will land among the stars” rubber stamp
Black solvent based ink pad
Double sided tape
Blue ribbon
Scissors, sharp knife or blade to cut Smoothfoam™ balls
Metal pot scrubber
White 12 x 12" card stock
Blue crayons
Iron
Paper towels, newspaper
Marker
Instructions:
Mad Crafting Scientist STEP 1 - Preparing the glass star base

This little glass star bottle with a cork stopper came from our local Goodwill store (one of my FAVORITE places to find glassware to etch - great prices and you help out those in need too!). It was blue - but, it was just a coating on the glass and as you can see, it was flaking off. That was fine with me - I planned to remove it anyway to etch the glass!
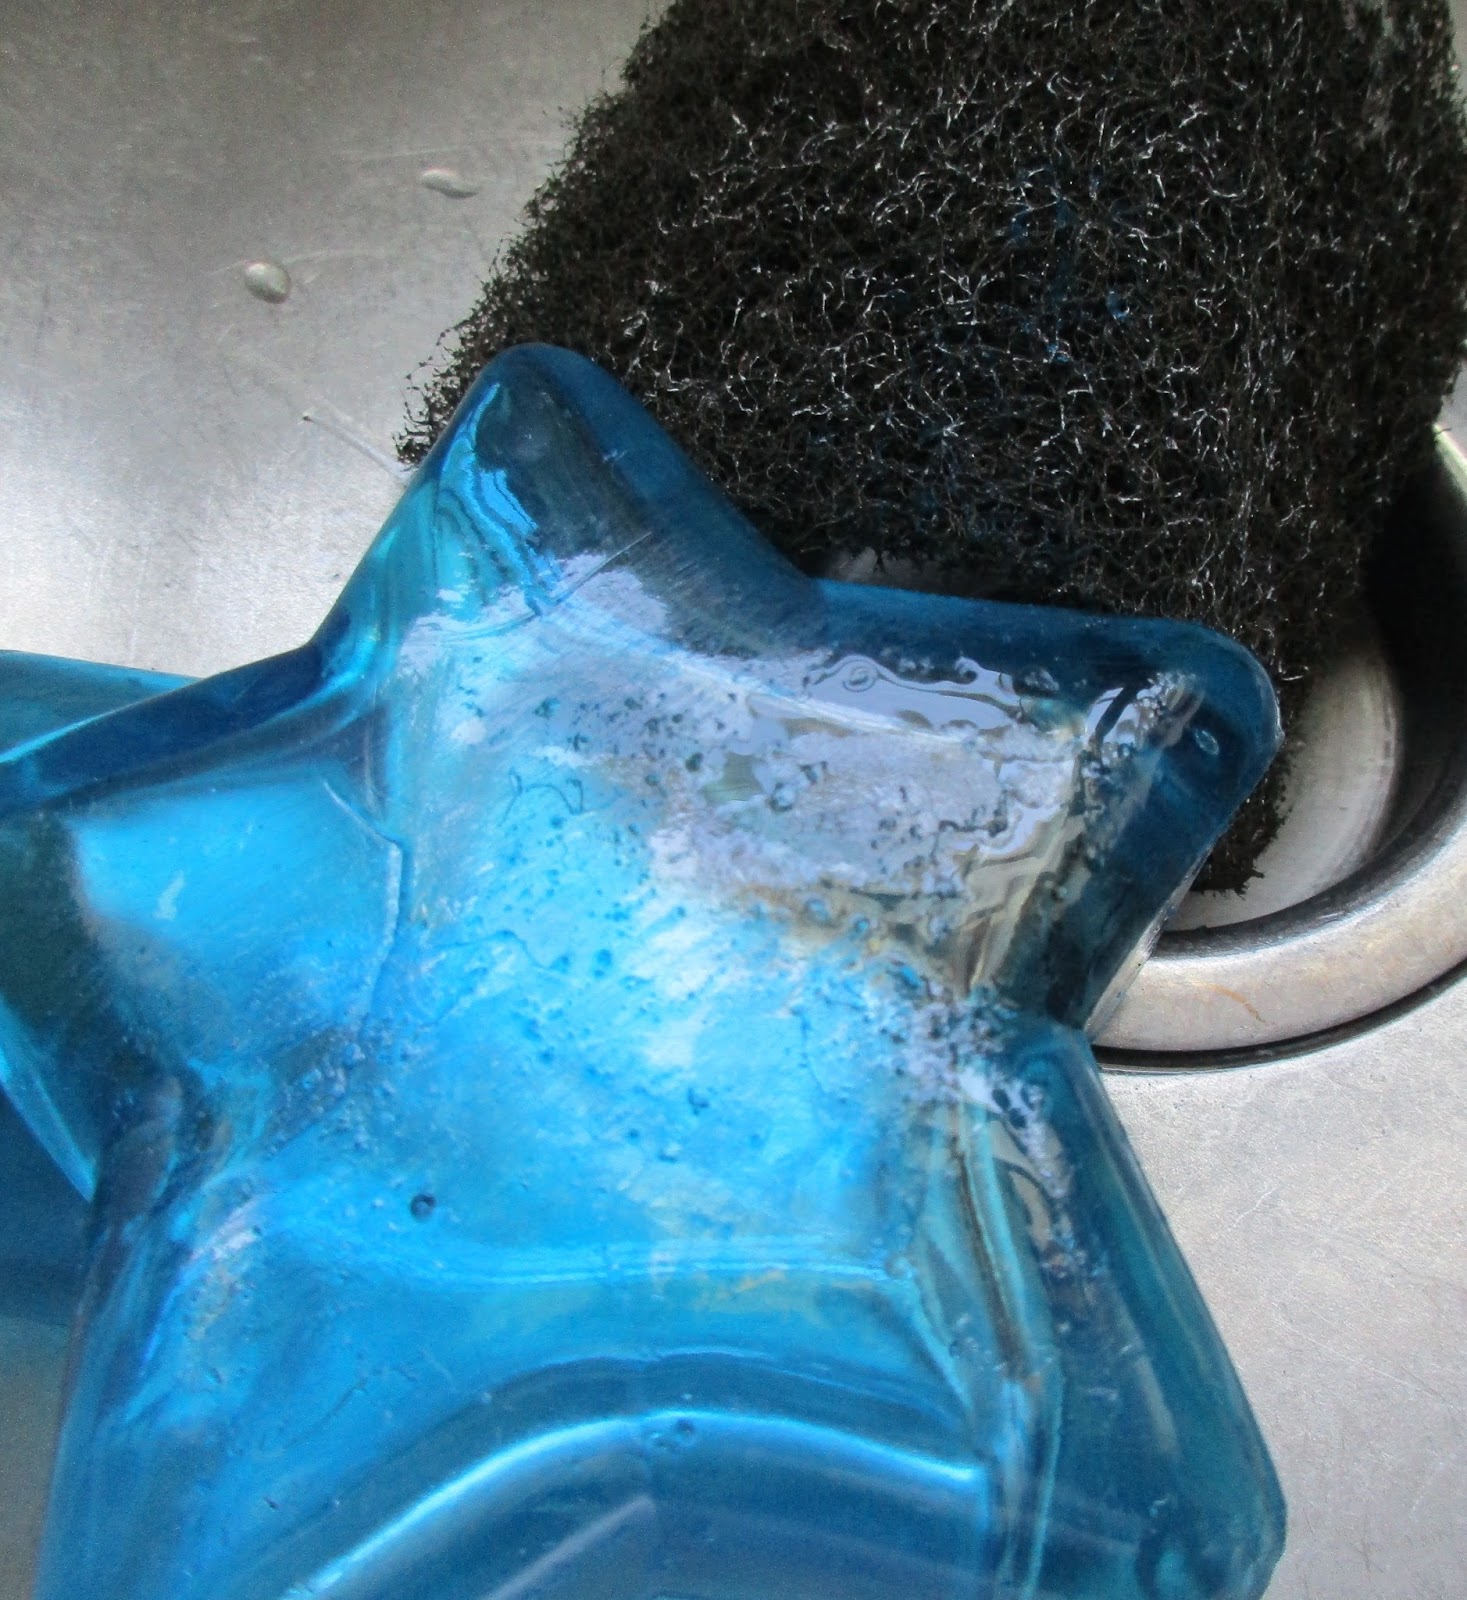 A simple metal pot scrubber and some water is all it took to remove the rest of the blue coating.
Once the glass is clean and fully dry, it’s time to stamp.
Ink “Reach for the moon. Even if you miss it, you will land among the stars” stamp with permanent solvent based black ink pad. Let dry.
Use paintbrush to apply a good thick coat of etchall® creme just on the flat front of the star, over the stamped verse. DO NOT follow the manufacturer instructions for the etchall® creme - if you allow the creme to set the recommended 15 minutes, it will begin to dissolve the solvent ink. Let the etchall® creme set about 10 minutes, then carefully return creme to bottle for re-use.
Wash bottle again, rubbing to remove solvent ink. Let dry.


Add decorative dot accents with gold and silver DecoArt® Glass Paint Markers™ around the outer edge of the etched area.
Slice opposite sides off two 1 1/2" Smoothfoam™ balls and use 3-in-1 Adhesive to glue to the top of the cork stopper on the bottle, stacking balls. This is where your etchall® Lighten Up shade will set - the pressure plate needs a surface to rest against in order for the light to come on.


Mad Crafting Scientist STEP 2 - Preparing the base for lamp shade
 Unfortunately, the photos I took of this process seem to have been eaten by the camera gremlin.
You could simply use patterned paper or solid dark blue card stock for the shade, but of course, I had to take it to the next level lol…….. I love encaustic wax, and I love creating “faux” encaustic wax with broken crayons! I made this paper by placing scrap paper (newspaper works fine) on an ironing board. Then I placed a 12 x12” piece of white card stock. I used a cheese grater to great up dark blue and bright blue crayons over the card stock. Then I placed a second sheet of card stock on top. Place a paper towel over the card stock. With an iron on a LOW setting, begin ironing over the paper to melt the crayon, moving the card stock slightly to swirl the melted crayons. That’s it! You can peel them back and check to be sure the area is all covered, add more, etc. as needed.

Once your paper is ready, trace the shade template that comes with the etchall® Lighten Up kit onto the back of the paper with a marker. Cut out.
Mad Crafting Scientist STEP 3 - Cue the Frankenstein movie music…. It has “LIGHT’’’’ It has “LIGHT”! Adding the Chibitronics® Circuit Stickers
 I will admit, this next part worried me. But, the instructions provided with the Chibitronics® Chibi Lights LED Circuit Stickers STEM Starter Kit made it easy to achieve good results!
  First, measure enough of the copper conductive tape to fit around the bottom part of your lamp shade. To save on tape, they recommend cutting the piece in half - and it worked great!
I wanted to add multiple Chibi Lights to my shade, so I followed the instructions and placed two pieces of the copper tape as shown, just far enough apart so both sides of the circuit sticker would be touching the tape.

I then placed the self-adhesive Chibi Lights evenly spaced around the shade over the tape as instructed.
I added a paper “pocket” to the back of my shade, again following the manufacturer instructions, to hold the battery.
Place the paper shade onto the base shade.
Let their be LIGHT!
Mad Crafting Scientist STEP 4 - Let it glow, let it glow, let it glow! Adding more embellishments…
 Next, cut enough blue ribbon to fit over the copper tape. Cut into pieces to fit between your Chibi Lights and use double sided tape to adhere.
Trace the removable cover for the battery compartment of the shade onto the same faux encaustic paper and cut out. Mount to cover.
 Cut piece of ribbon and mount around side of removable cover.
For the final touch, I thought it would be fun to add some glow in the dark elements so your little light will have a soft glow even after your light is off for the njght. Makins Clay® in Glow in the Dark was the answer!
Roll the clay thin (about 1/8”) with the clay roller. Place plastic wrap over the rolled clay and use smallest star cutter from 3 piece Star clay cutter set to cut stars to cover each Chibi Light. (Plastic wrap makes it easy to lift cutter from clay without clay sticking inside cutter!) Make a hole just large enough for the light to shine through in the center of each star with the clay tool. Mount clay stars over Chibi Lights with Beacon™ 3-in-1 Adhesive.


For moon, roll clay to about 1/2” thick. Place plastic wrap over rolled clay, use largest circle cutter from 3 piece Circle clay cutter set to cut circle, then use circle cut again making crescent moon shape.
Glue moon to top center of shade.


Place shade over Smoothfoam™ balls on star base.
 |
| Chubby Lights Activated! |
When the etchall® Ligthen Up light is activated, it will give off a great LED glow. You can use your Chibi Lights along with the shade’s LED light, or just activate your Chibi Lights when the shade is off for a twinkling effect without as much light. Either way, when you shut off your Lighten Up shade and your Chibi Lights for the night, your glow in the dark stars and moon will still give off a soft glow for a while.


Cute idea!
ReplyDeleteThanks!
DeleteLove this Cindi! It would be perfect in one of our celestial-y decorated bathrooms!
ReplyDeleteThanks Marilyn! :0)
DeleteCindi - what an amazing transformation of a goodwill find! I love finding treasures to alter there as well. This project has so many wonderful techniques that I will definitely try... the lighted lampshade is certainly the star of this little lamp! :)
ReplyDeleteThank you Susan! I do love giving things from Goodwill new life!
DeleteQuite an endeavor and it must have taken lots of patience! The end result is darling!
ReplyDeleteThank you Marilyn - it was a challenge, but fun!
DeleteGreat project Cindi - love the little stars!
ReplyDeleteThanks!
DeleteCute light- what a great project and use of the Chibitronics!
ReplyDeleteHi Cindi. This is a great transformation. I love how it turned out. Great techniques.
ReplyDeleteSo adorable Cindy!
ReplyDeleteSo adorable Cindy!
ReplyDeleteSuch a cute idea! I love all things celestial. Not sure if I spelled that right. I need some of those lights!
ReplyDeleteSuch a cute idea! I love all things celestial. Not sure if I spelled that right. I need some of those lights!
ReplyDelete