Lotus Pond Pendants

Sandy Huntress shared a fantastic tutorial for Sparkling Painted Polymer in the premiere edition of Passion for Polymerhttp://bit.ly/CMPassionforPolymer magazine. Sandy used a different medium to color her silkscreened images, but I have an ongoing love for my DecoArt® Metallic Lustre™so I HAD to try it! I also am an admitted texture/dimension junkie, so I added some dimensional details. I also added a layer of clear liquid clay over the surface for a different effect.
Materials:
Sculpey® Souffle - Black
Makin's Professional®
- Ultimate Clay Machine™
- Professional Clay Tools™ - Sphere tool
- Lotus Pond Silk Screen
- Hot Fix Cabochons
- Dragon Scales
Sculpey® Bake & Bond
Sculpey® Liquid Bakeable Clay in CLEAR
Copper metallic paint
Scraping blade/squeegee
DecoArt® Metallic Lustre™ - Lavish Green, Polished Coral, Fab Fuchsia, Radiant Red
Pod shaped clay cutters
Texture sheet of choice
Clay blade
Sari ribbon
Metal closure
Fine paintbrushes
Heat tool
Clay roller
Sculpey® Etch & Pearl tool (or other tool to make hole)
Instructions:
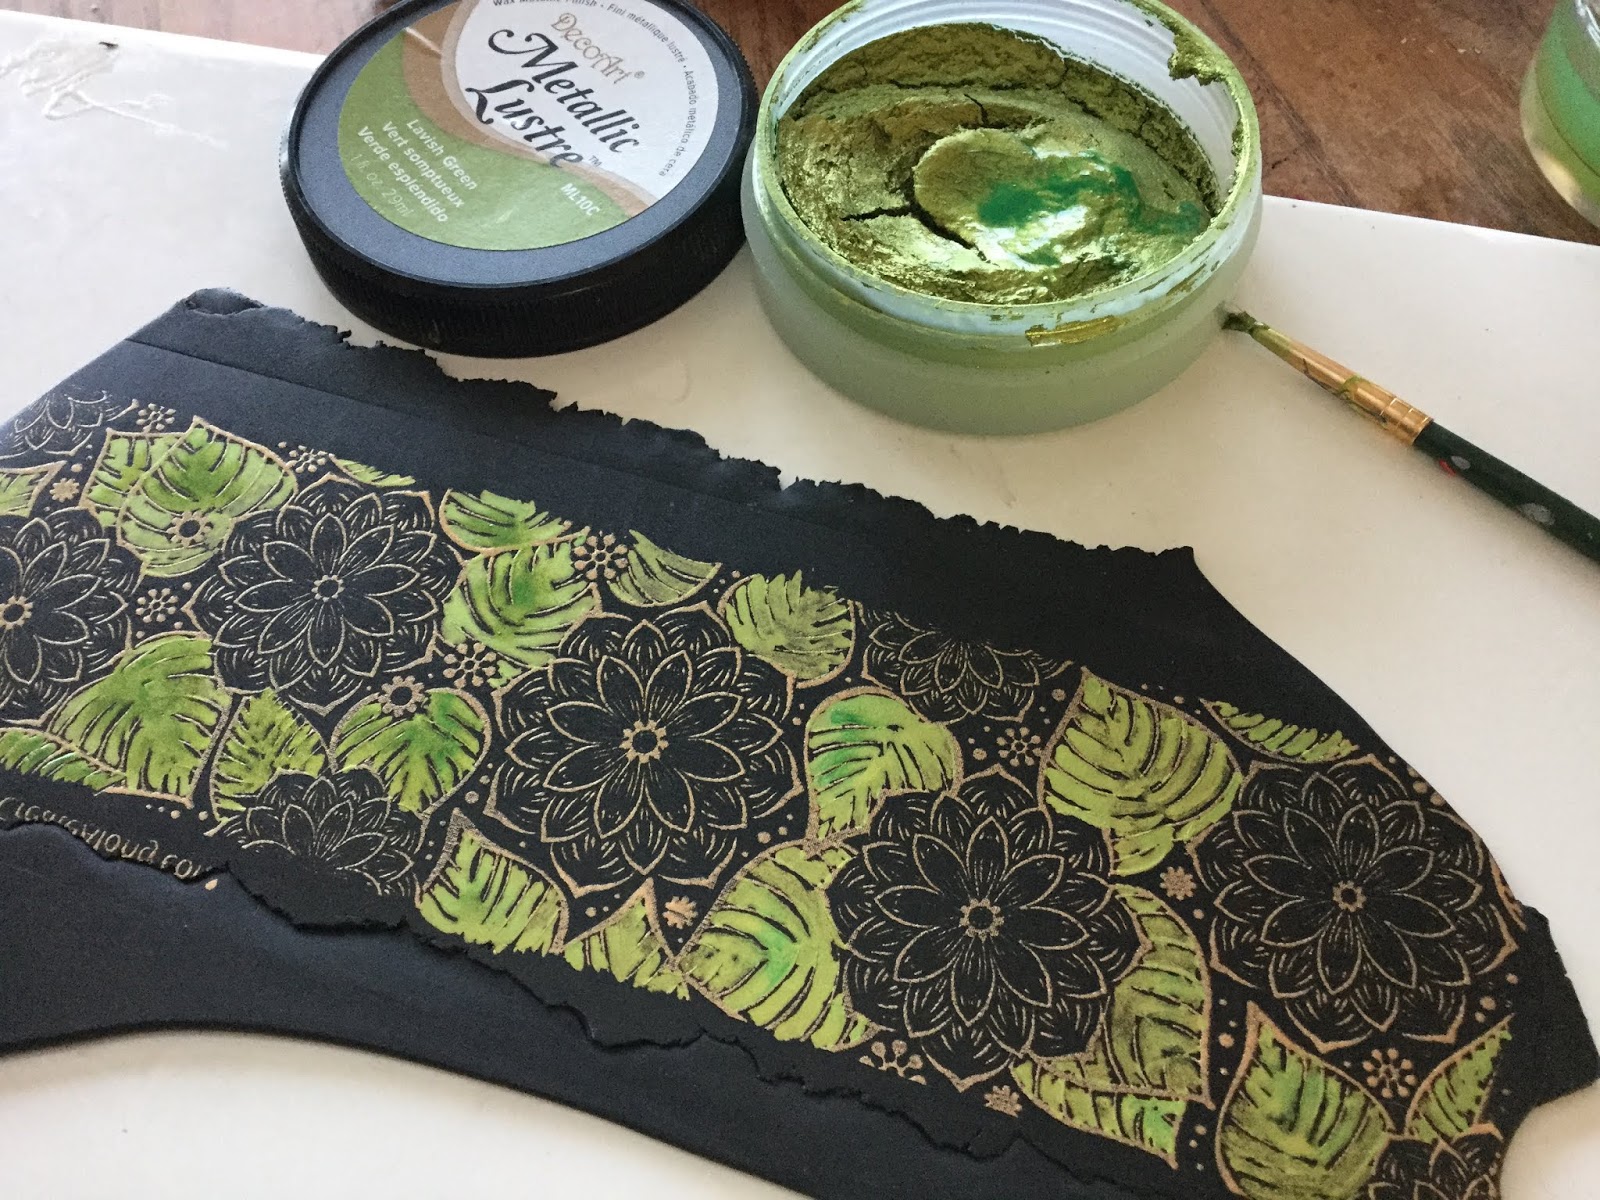
 Condition and roll black clay to second setting on clay machine. Place Lotus Pond silkscreen, orange side down, onto the clay sheet. Gently burnish. Use a scraping blade (gift card, or stiff flat brush) to apply metallic copper paint. Carefully lift and remove silkscreen. Wash silkscreen immediately. Let paint on clay dry thoroughly.
Add a tiny bit of water to the chosen shades of Metallic Lustre™ to create a bit of a "watercolor" paint, and carefully paint leaves and flowers. I did not bring the paint to the outer edges of all the images, as I wanted the silkscreening to still show a bit. I also let the depth of the color vary in spots.
Let the "paint" dry thoroughly.


 Use clay blade to cut out around painted silkscreened image.
Add Hot Fix Cabochon to the center of each flower. Add a tiny bit of Bake & Bond to each petal in the center row of petals (in my case, the Fab Fuchsia petals). Apply a pink Dragon Scale to each petal.

 Use sphere tool from Professional Tool Kit to make indentations around all edges of the clay.
So, this is the point where a funny thing happened. My original intention was for this to be an awesome cuff bracelet. But, I suddenly envisioned something ELSE. A pod shaped cutter was used to cut 4 pods from the veneer.


 Roll an additional sheet of black clay to setting #2. Apply texture sheet of choice (I chose a corrugated piece of plastic to texture my clay as I wanted a "striped" effect). Use the same pod cutter to cut a black pod for each of the 4 pieces.
  Add a touch of Bake & Bond and place a silkscreened piece centered on the black background pod. Gently press to adhere the layers, being sure your side seams are smooth. Make a hole at the top center for the ribbon.
  For the beads, roll the remaining silkscreened clay to a thinner sheet. Use the clay blade to cut very thin strips. Roll black beads in desired size. Randomly apply the strips around the outside of the beads. Roll bead to smooth and blend in the strips to the beads. Make holes. Make two for each necklace.
Bake all pieces according to manufacturer instructions. Let cool.
Apply Sculpey® Liquid Bakeable Clay in CLEAR to surface of silkscreened portion of the pods (not the black background). Bake according to manufacturer instructions. Immediately upon removing from oven, use heat tool to further bring out the shine. Let cool.
Add Sari ribbon and closure to each necklace.
Even though I think the cuff bracelet would have been great, I am glad my creative muse took a detour in this case!
Even though I think the cuff bracelet would have been great, I am glad my creative muse took a detour in this case!


Comments
Post a Comment