Etching Glass with Silkscreens! A Stained Glass Pendant

How this idea came to be…..I have the pleasure of working with the Polymer Clay TV team. They not only produce polymer clay tutorial videos, but have a variety of polymer clay products in their store, host the Polymer Clay Adventure, Polymer Clay Universe, and have an extremely active Facebook group - Create Along with Polymer Clay Tribe. Kira Slye, one of the owners, asked me one day if their silkscreens would work with etchall®, as she knows I like to design using etchall® products also! I was intrigued…… After a bit of experimenting, I’ve discovered - YES! IT WORKS! I am so excited to try this technique on many additional projects in the coming months. The delicate details you can achieve are well beyond what you can do with a stencil or a die cut element - it’s just amazing!
It takes a bit of practice, so I would recommend trying it on some empty bottles or jars you don’t care if doesn’t work out perfectly to practice a bit before moving to the “real” surface you want to etch. One disclaimer - I have not tried this technique with other brands of silkscreens yet - so I cannot guarantee that they would have the same results.
 Materials:
etchall® Creme
etchall® Squeegee
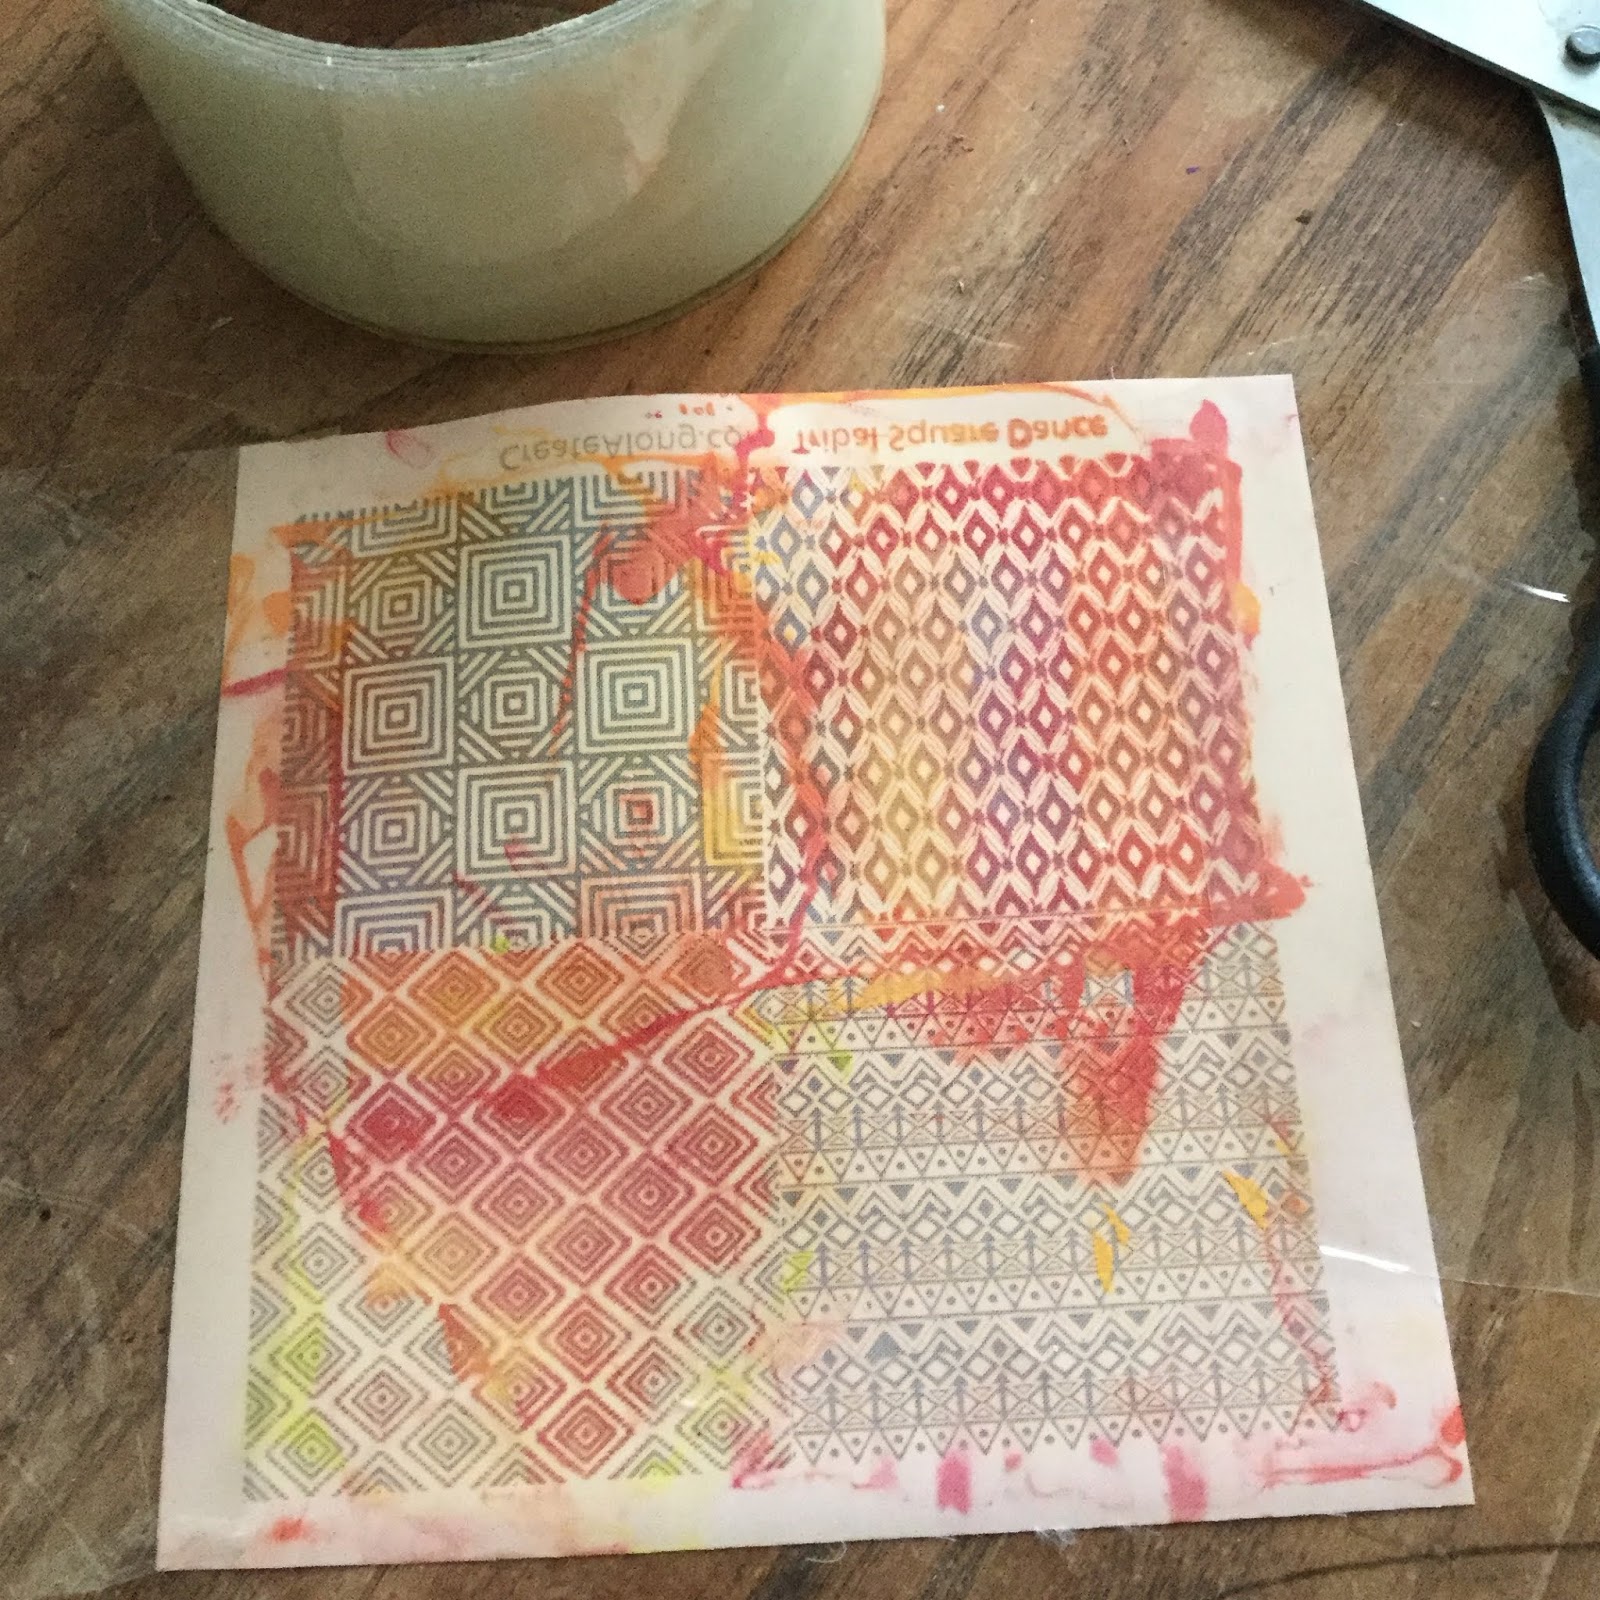
CreateAlong.com Silkscreen Stencil - Tribal Squaredance Multi-Image
Tape
Piece of scrap stained glass (clear glass, mirror, etc. also works!)
Amaco® Rub n Buff in desired shade (I used Ruby)
premo! Sculpey® Accents™ polymer clay - Bronze
Makin’s Professional® Ultimate Clay Extruder®, square disc #20, and ClayCore Adaptors®
Sculpey® Bake & Bond Adhesive
Paper towels
Clay blade/craft knife
Copper eye pin
Copper chain or satin cording of choice
Vinyl/latex crafting gloves (optional - It is recommended you use protective gloves, and eyewear, when using etching products)
Instructions:
 Place silkscreen orange side down over glass piece (Tip: I got a box of scrap stained glass pieces from e-Bay at a very affordable price and have been using the pieces for years in various craft projects!)
Use tape to secure sides of silkscreen to work surface. As with any silkscreening project, the less “movement” of the screen, the better.
 CAREFULLY add a dollop of etchall® cream and GENTLY spread with squeegee. Let set 15 minutes. Return creme to bottle (etchall® is reusable!), remove silkscreen and wash glass. Let dry. Voila! A delicate, intricate pattern of etching on your glass surface.


 Apply a bit of Rub n Buff metallic wax to surface, gently buff with paper towel to remove from non-etched areas. Your etching is now wonderfully highlighted.


 Cutting one end at an angle so the pieces will join neatly when finishing, cut strips of extruded clay to the required lengths to cover the sides of the etched glass piece (I chose to leave the jagged lower edge of this piece open).
Carefully cut through the center of one side of the square into the opening.

 Add a bit of Bake & Bond to the top and bottom outer edges of the glass. Working one side at a time, wrap the square extruded clay around the glass. Bake according to manufacturer instructions. Let cool. Repeat on top, using fingers to smooth where baked clay meets the fresh clay.
Bend eye pin into "L" shape, trim off end. (Tip: I did not have a copper eye pin, but I did have a copper earring wire.... so I substituted that!) Add a touch of Bake & Bond and carefully insert into the top, covering and re-smoothing with clay as needed. Bake again. Let cool. Repeat on remaining side. Bake and let cool.


 Add desired cording or chain and your unique, silkscreen etched pendant is complete!
 Addendum.... it's been pointed out to me that the use of silkscreens is not new in the world of glass etching! I by no means was claiming I had tried something earth shattering..... It is just completely NEW technique for me and I'm excited to further explore it!


Comments
Post a Comment